Greek

- A) Enterprise Admin Role
- B) Assign Enterprise Admin and Enterprise Approver Roles
- C) Initiate Domain Validation for Enterprises
- D) Add Domains to an Enterprise
- E) Remove Domains
- F) Submit Legal Evidence for Identity Validation
- G) Manage Certificates
- H) Bulk Certificates
- I) Stats
- IA) Organization Tags and Automated S/MIME issuance
A) Enterprise Admin Role
1. Visit HARICA’s CertManager and sign up to create your account.
Your personal information must be accurate and fully matched (letter-by-letter) with a government-issued identification document.
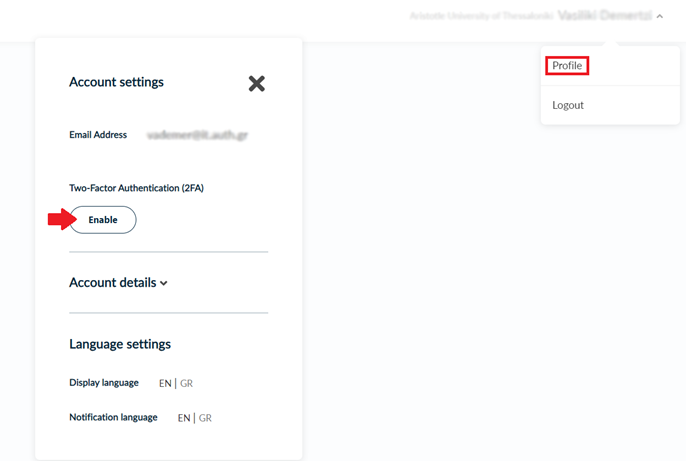
2. Once you log in, from the top right corner, click on your name and select Profile. From the Account Settings menu, click Enable and follow the on-screen instructions to activate Two-Factor Authentication (2FA) as it is required for this role.
After the process is completed, please inform the Enterprise Manager or an already assigned Enterprise Admin of your Enterprise in order to provide you access as Enterprise Admin.
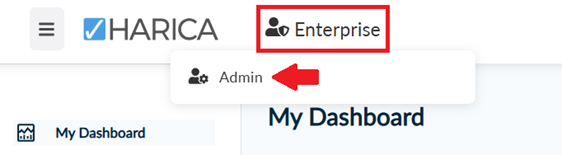
3. When you gain access, a new menu Enterprise will appear in the portal. Go to Enterprise → Admin.
4. As an Enterprise Admin, you will be able to:
- assign enterprise admin role to selected users,
- assign enterprise SSL & S/MIME approver roles to selected users,
- initiate domain validation for enterprises,
- request for new domains within existing enterprises,
- remove domains from existing enterprises,
- submit the required legal documents for identity validation,
- manage all issued certificates, and
- issue bulk S/MIME certificates (email-only/SV),
- retrieve stats about the certificates and the domains of your enterprises.
These features are described in detail below.

B) Assign Enterprise Admin and Enterprise Approver Roles
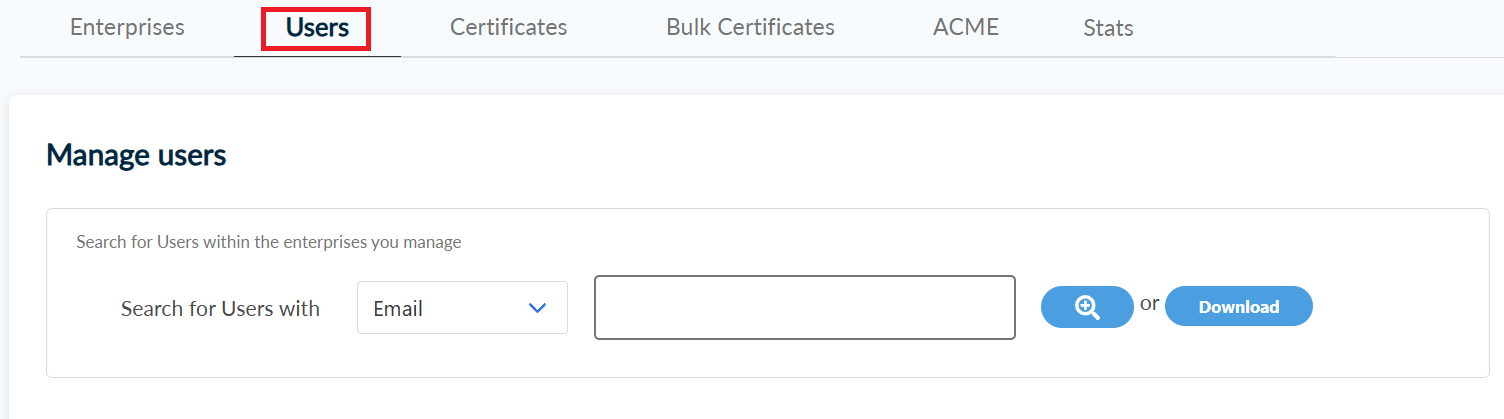
1. To assign Enterprise roles to a user, go to the Users tab and select the desired user.
Please note that for a user to appear in the Users tab, they must first register on the portal using an email address associated with a base domain that you already control.
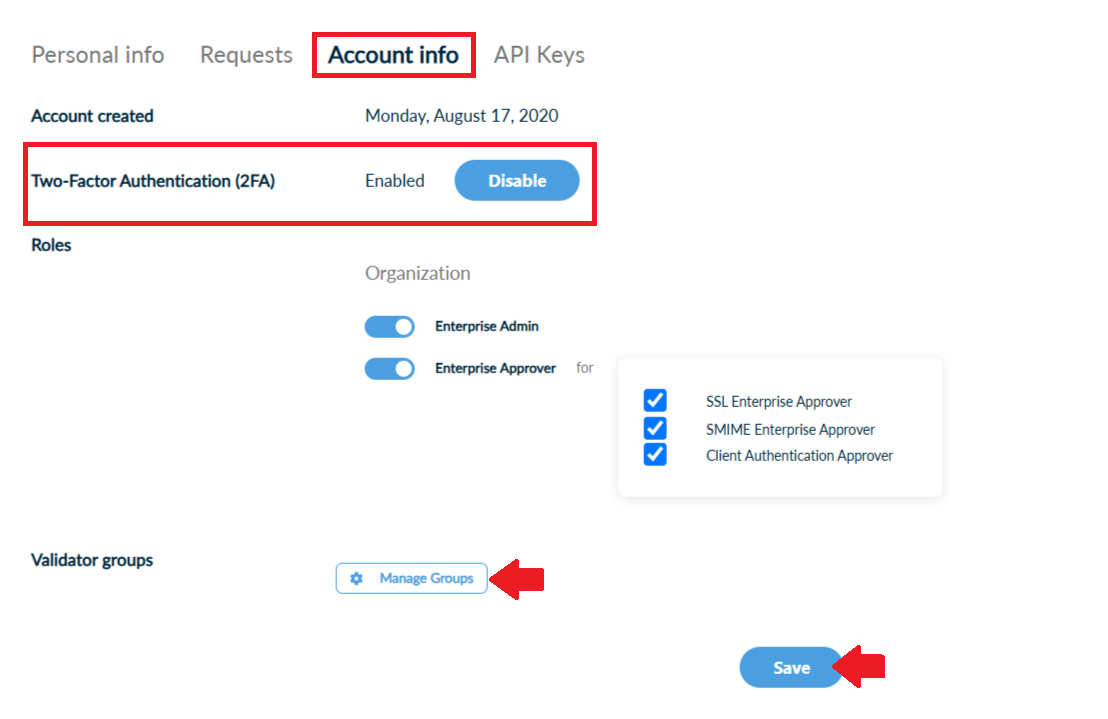
2. Go to the Account info tab. Enable the Enterprise Admin or/and Enterprise Approver switch, depending on the user, and select from the drop-down menu which enterprises this user will manage by pressing the Manage Groups button, first. Then, click Save.
Please note that the user should have first activated Two-Factor Authentication (2FA) to be able to access these roles.
C) Initiate Domain Validation for Enterprises
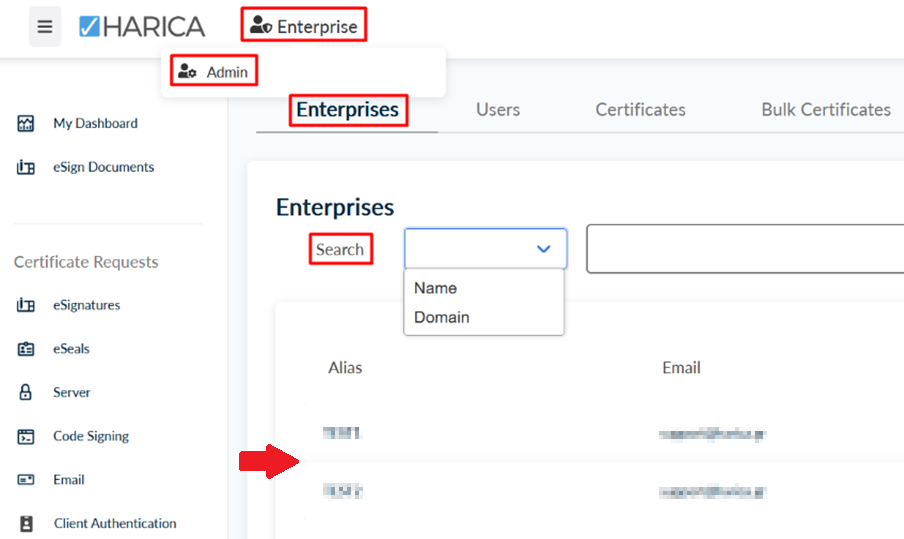
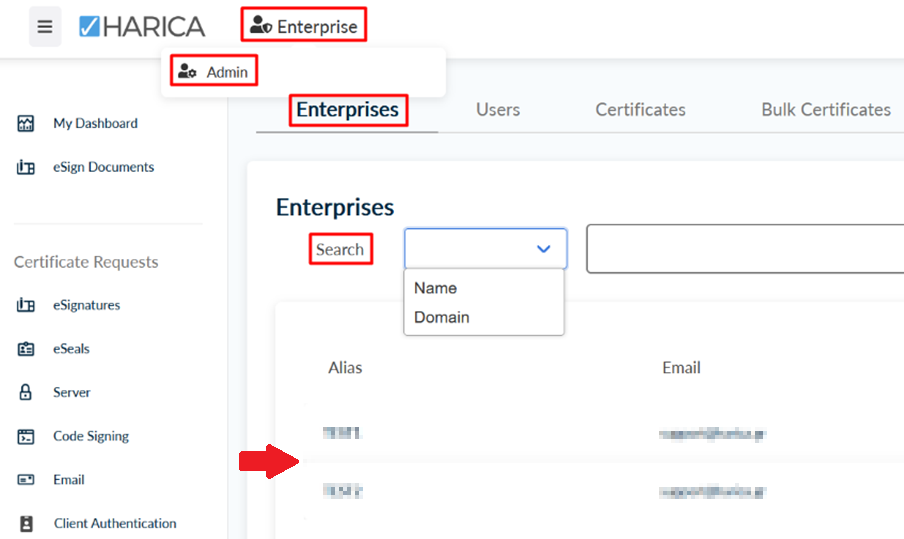
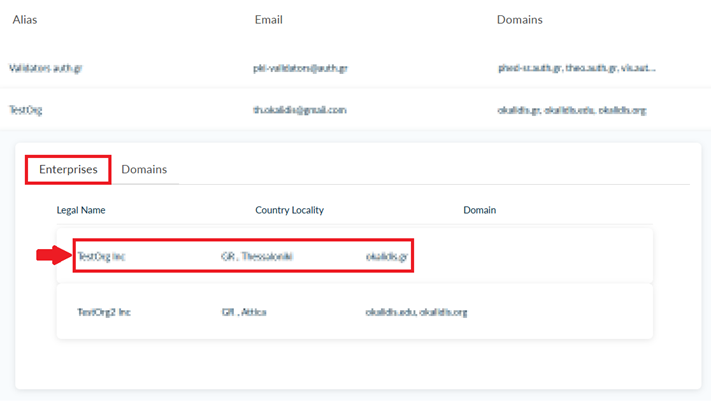
1. To initiate domain validation for newly added domains or refresh the validity of an already added domain, go to Enterprise → Admin → Enterprises [tab], and select the desired enterprise or search for it.
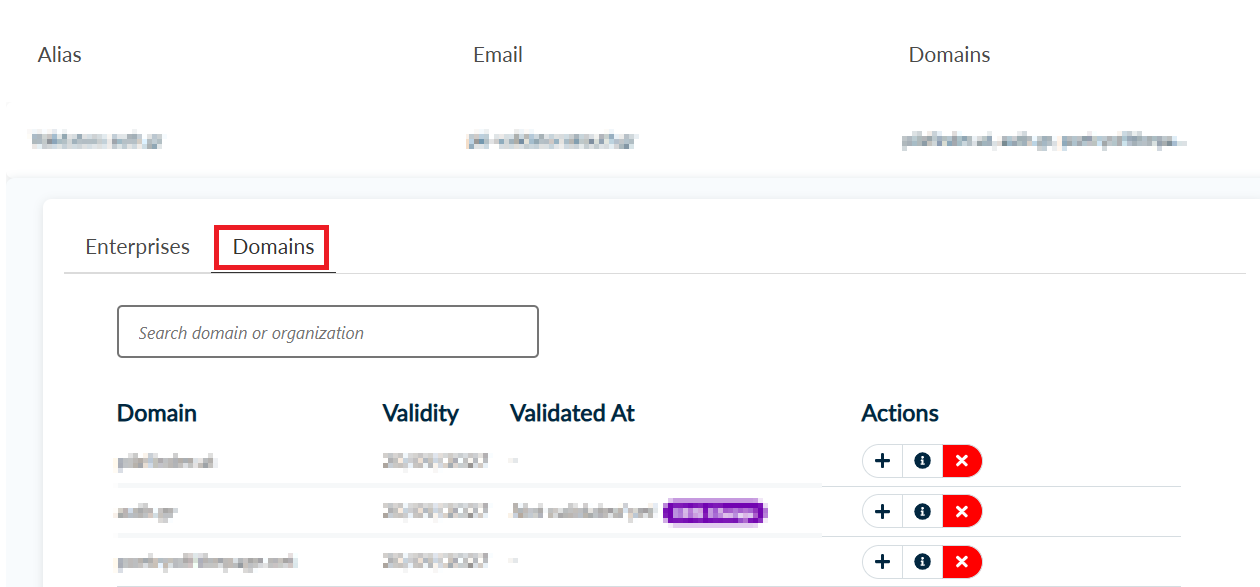
2. Go to the Domains tab and click the + button to initiate domain validation for the specific domain.

The options available, according to the CA/Browser Forum Baseline Requirements and HARICA’s policy, are:
- 3.2.2.4.4 Constructed Email to Domain Contact
- 3.2.2.4.7 DNS Change
- 3.2.2.4.22 DNS TXT record with Persistent Value
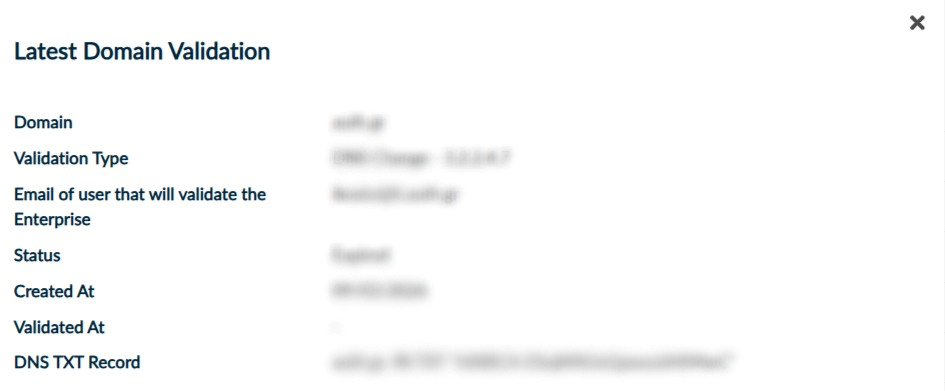
3. To view the latest domain validation information for a specific domain, click the Information button.

D) Add Domains to an Enterprise
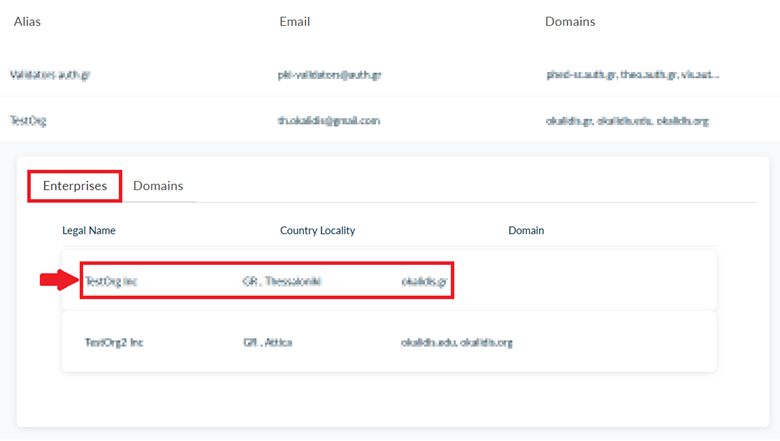
1. To request for new domains within existing enterprises, from the Enterprises tab, click on the desired enterprise.
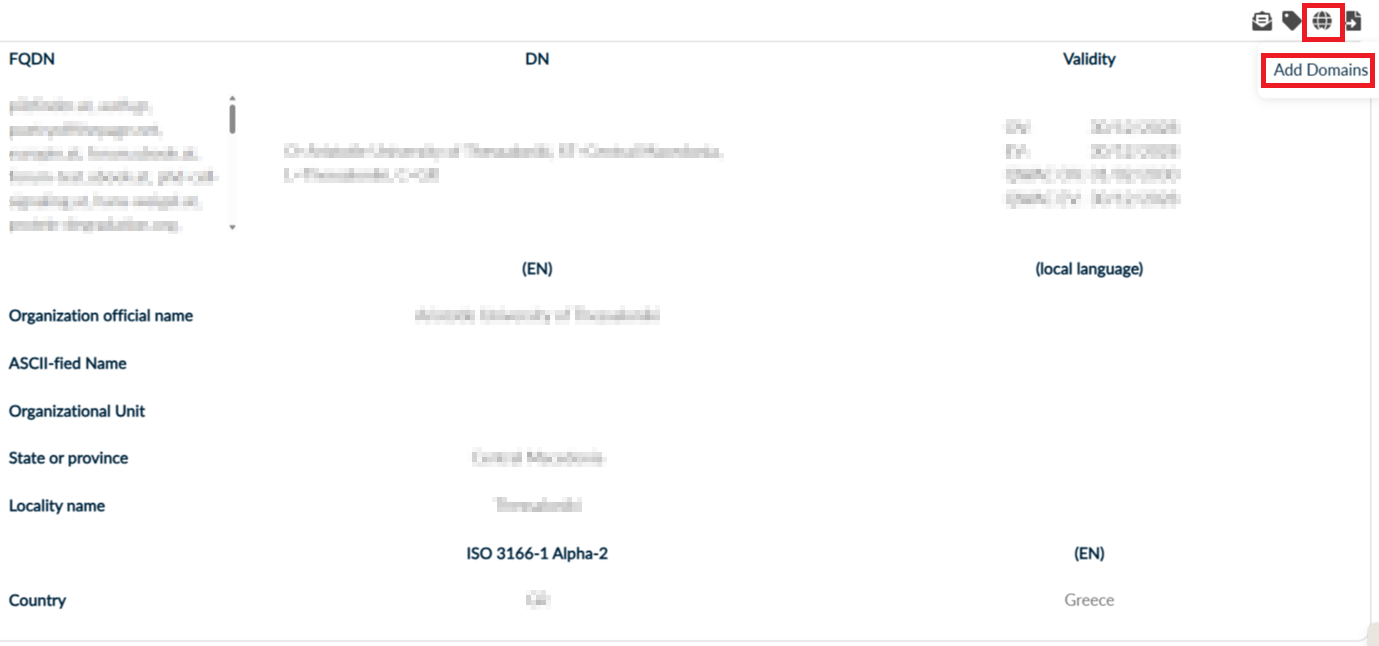
2. Click on the Add Domains button.
3. Download the CSV sample provided on the portal and fill in the required columns.
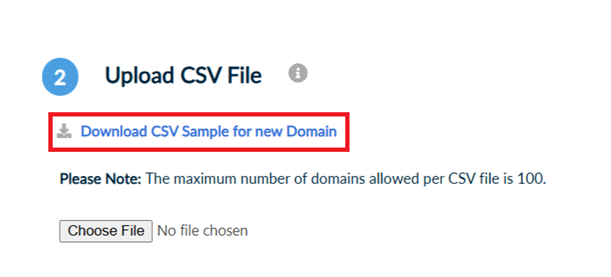
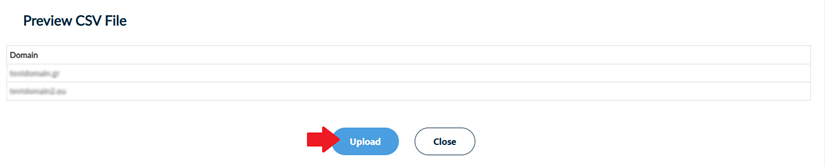
4. Click on Choose File to select the CSV file that you created. Then, click Upload to submit your request.
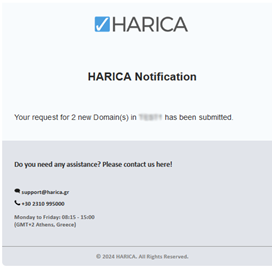
5. If the process is completed successfully, you will receive a confirmation email.
6. Once the validation is completed successfully, the requested domains will appear under the Domains tab.
E) Remove Domains
1. To remove domains from your enterprise, go to Enterprise → Admin → Enterprises [tab], and select the desired enterprise or search for it.
2. Go to the Domains tab and click the X button.

3. Then, click Delete to permanently remove the selected domain.

F) Submit Legal Evidence for Identity Validation
1. To submit legal evidence for identity validation of the enterprise, from the Enterprises tab, select the desired enterprise.
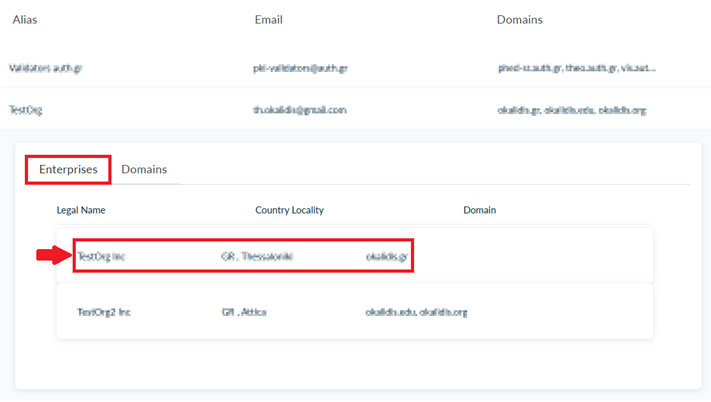
2. Click on the Upload validation files button.
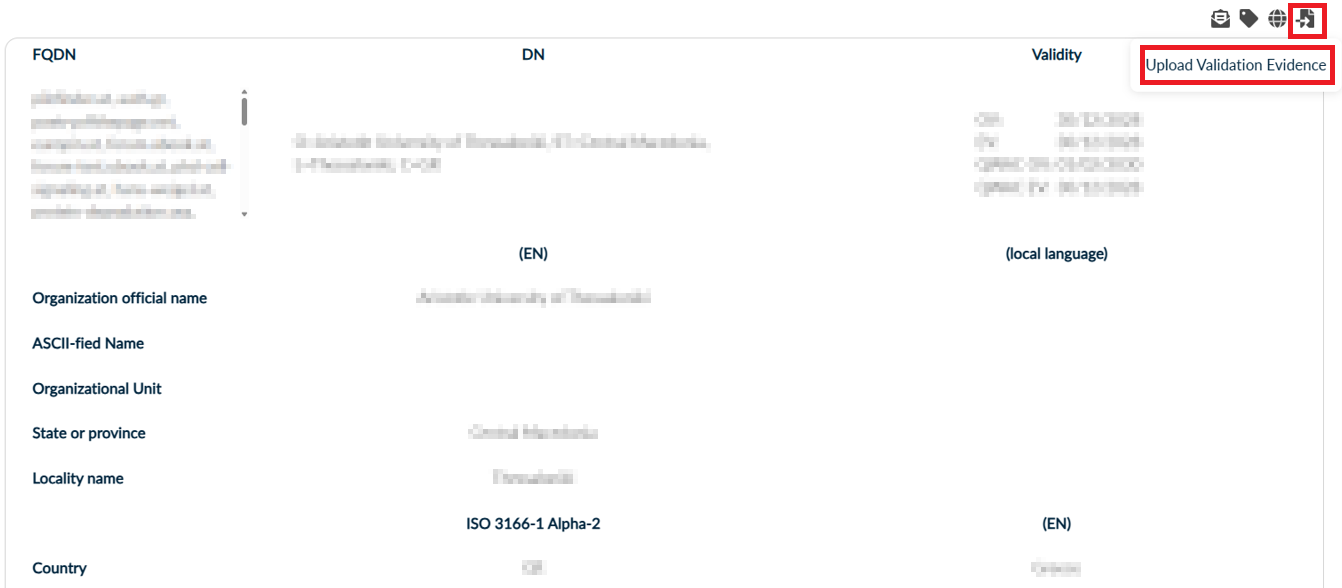
3. Upload the necessary evidence for the identity validation.
At this point, upload evidence for the OV validation only. EV validation evidence is not required.
4. If the process is completed successfully, you will receive a confirmation email. Now, your request needs to be approved by HARICA’s validators, who will check and verify the data that you have submitted.
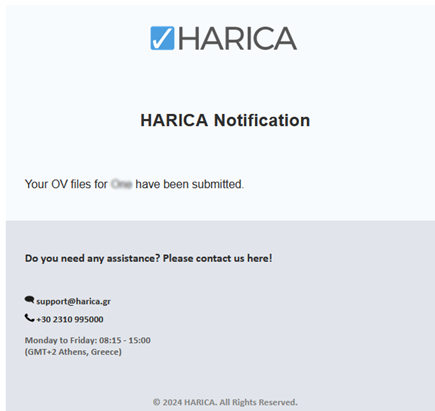
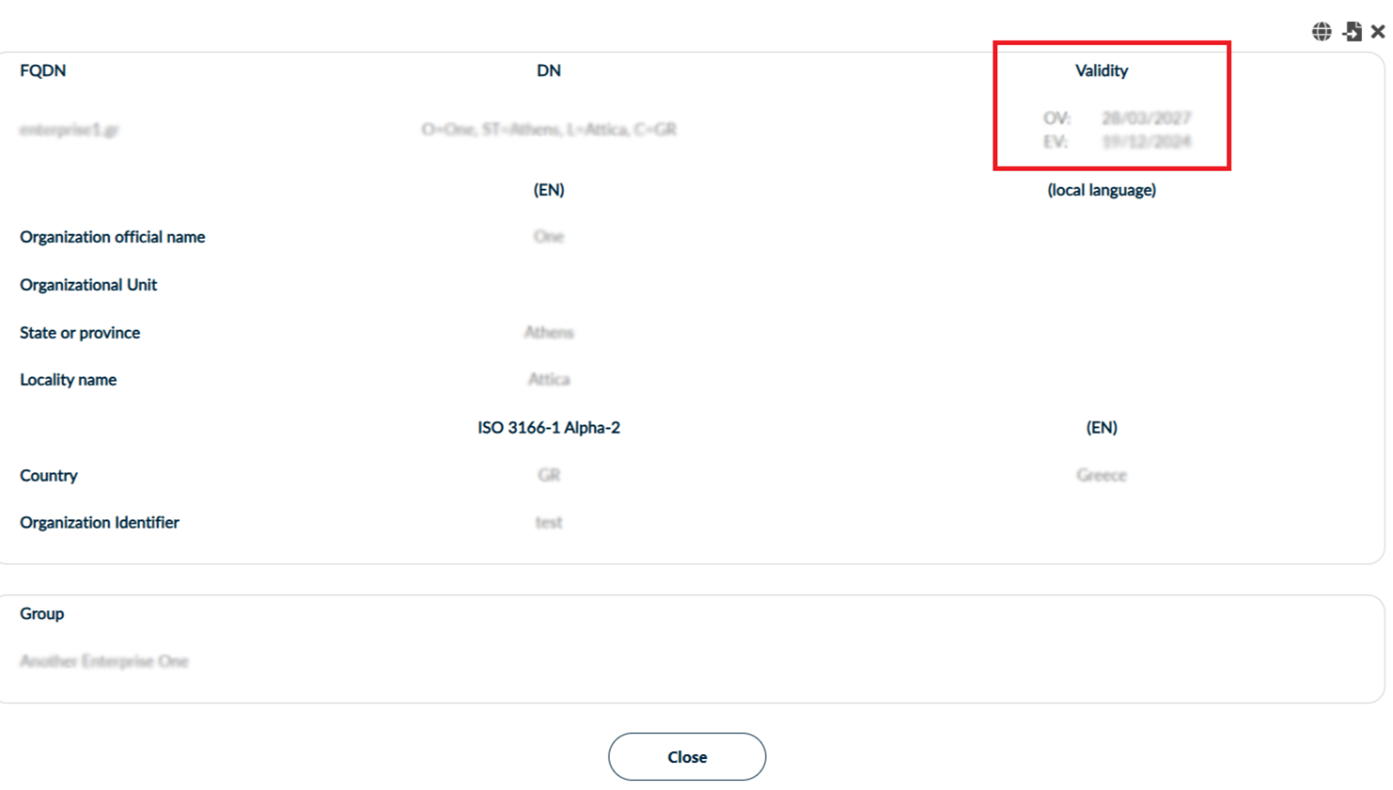
5. Once the validation is completed successfully, the validity will be updated with a new expiration date.
G) Manage Certificates
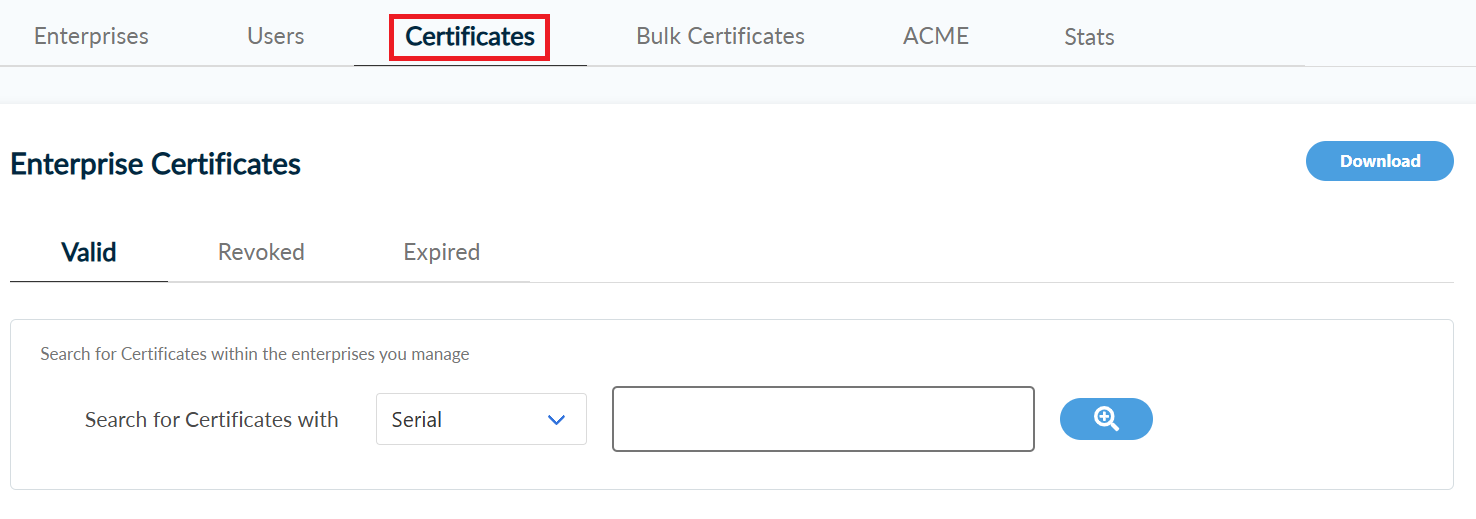
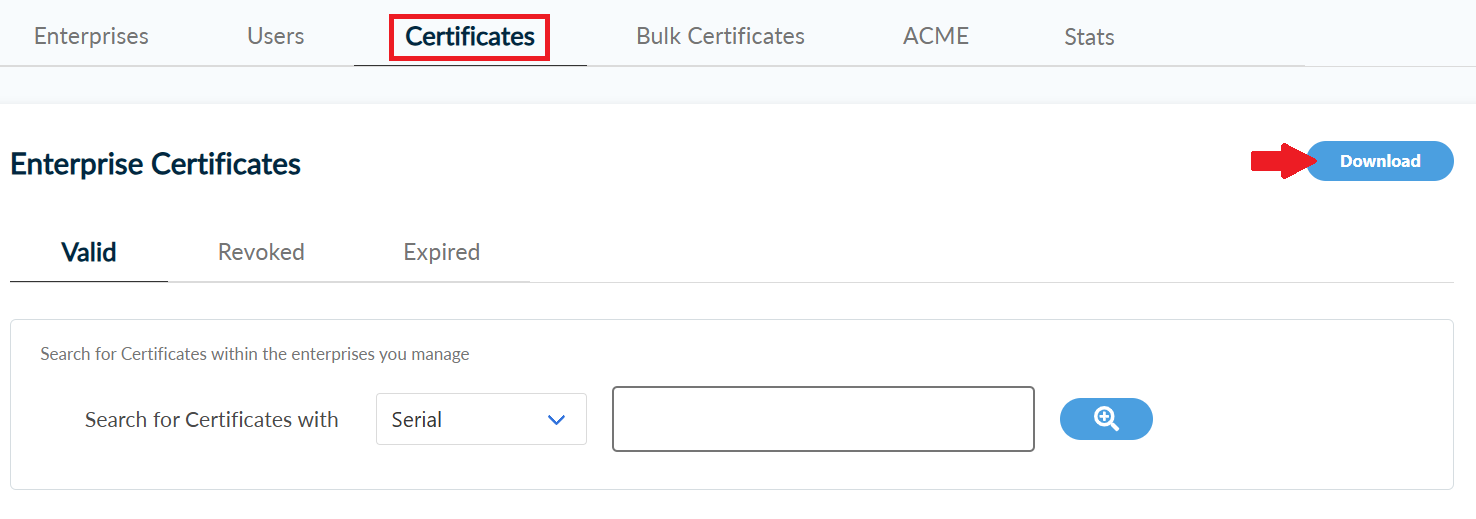
1. To search for certificates issued under your Organization(s), go to the Certificates tab and refine your search by selecting from the available filter values.
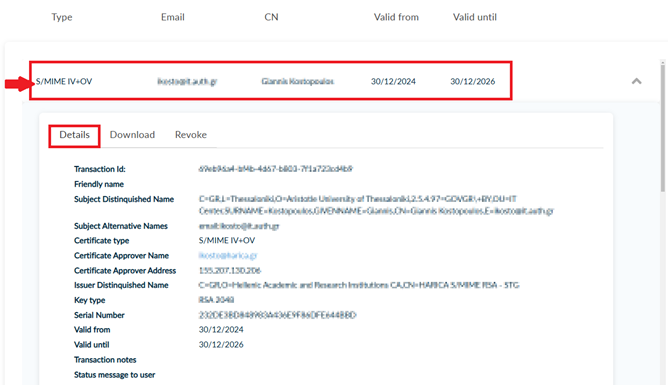
2. Click on a certificate to view the certificate details.
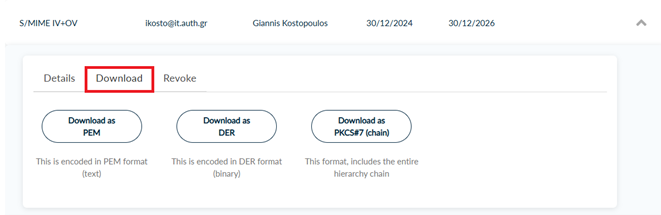
3. Go to the Download tab to download the certificate’s public key in various formats.
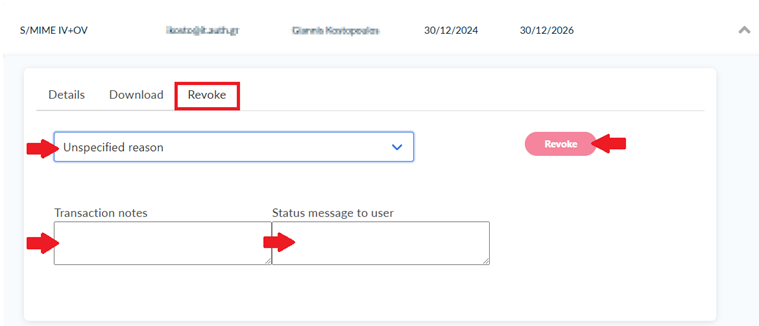
4. Go to the Revoke tab to revoke the certificate, if necessary.
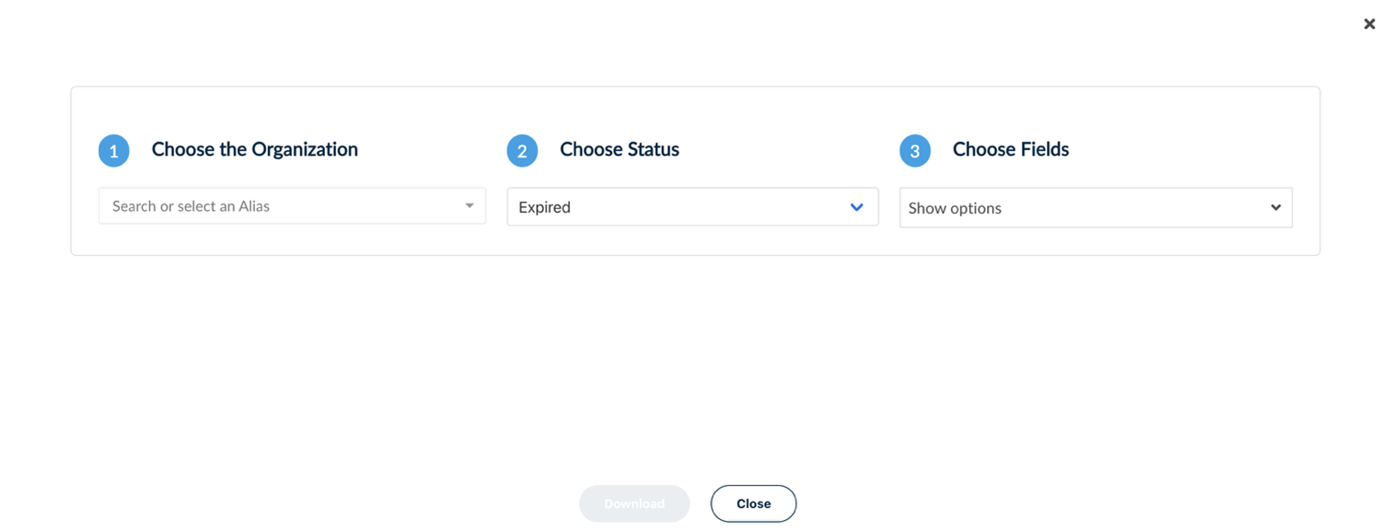
5. Press the Download button to export a CSV file containing all valid, revoked, and expired certificates.
H) Bulk Certificates
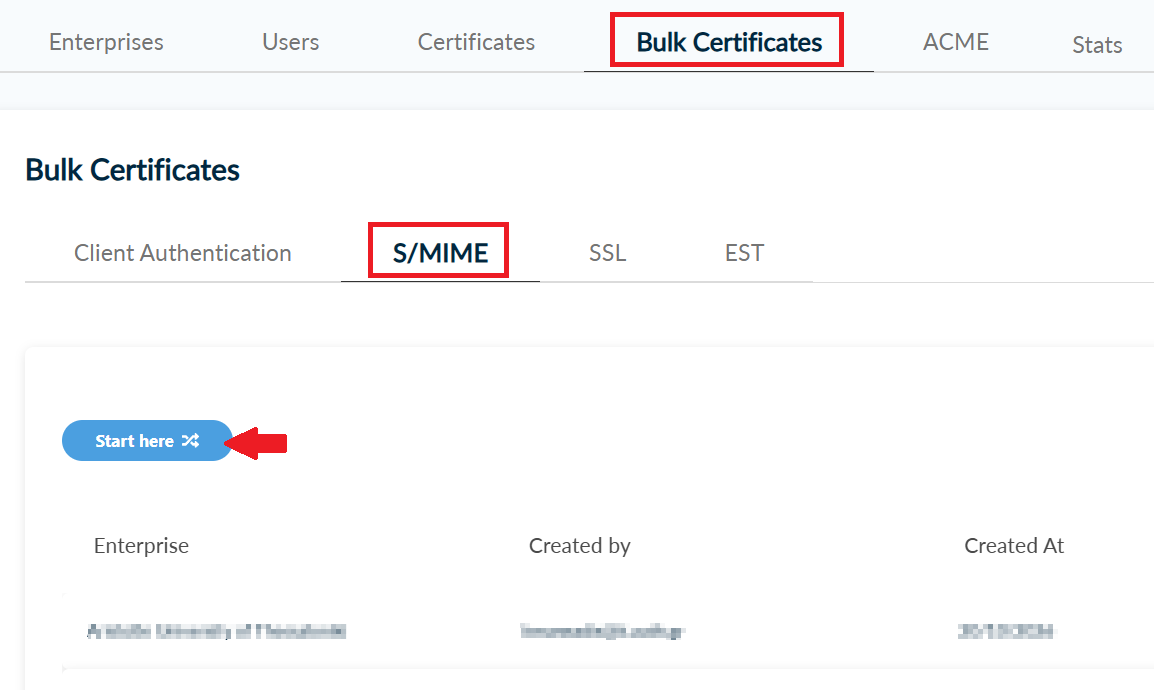
1. To issue bulk S/MIME certificates, go to the Bulk Certificates tab and select S/MIME. Then, press Start here to initiate the process.
2. Select your desired Enterprise from the drop-down menu. Then, download the CSV sample provided on the portal and fill in the required columns.
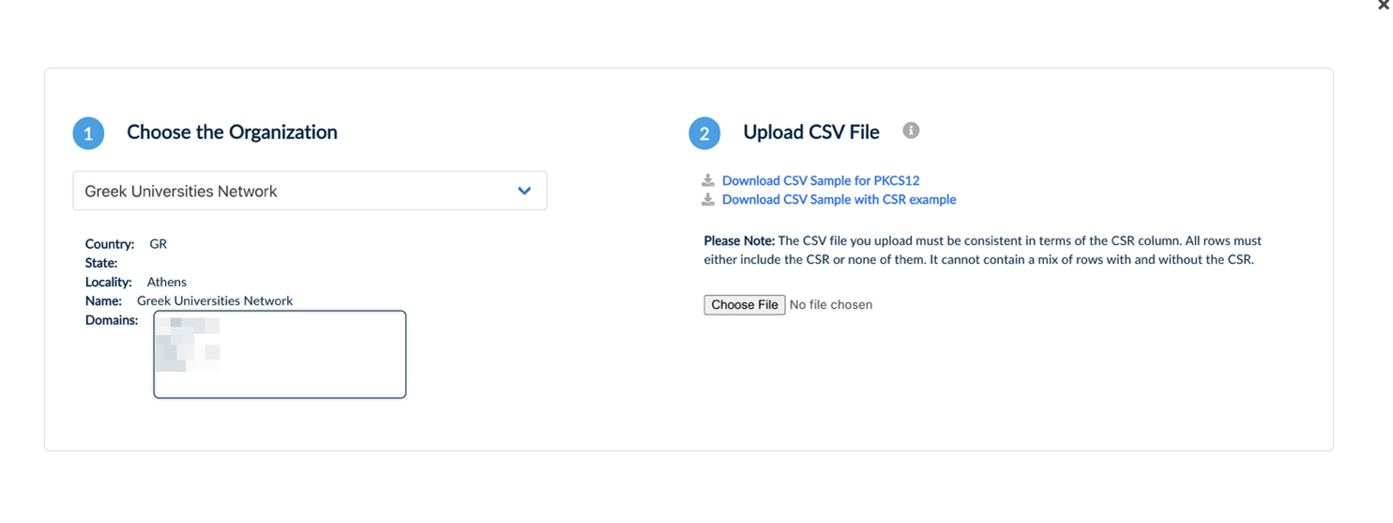
3. Click on Choose File to select the CSV file that you created. Then, accept the Terms of Use, the Certification Practices of HARICA, the Data Privacy Statement and press Upload.
Please note that the CertType column in the CSV file must be set to email_only for Email-Only certificates or natural_legal_lcp for SV certificates.
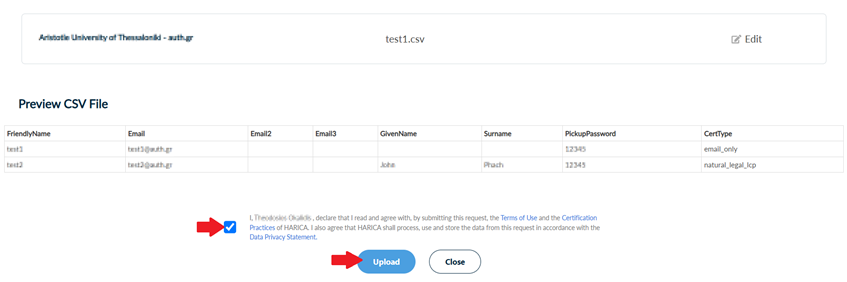
If the process is completed successfully, you will be prompted to download a .zip file containing all requested certificates. You can choose to save the file immediately or download the certificates later from the main page.
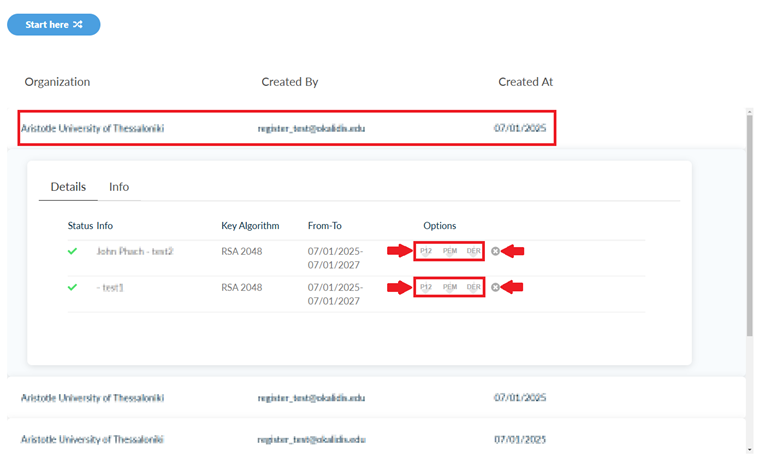
4. All issued S/MIME certificates are available under the Bulk Certificates → S/MIME tab. You can either download each certificate individually in various formats from the Details tab or download a .zip file containing all certificates from the Info tab. Finally, press the X button to revoke any certificate, if necessary.
I) Stats
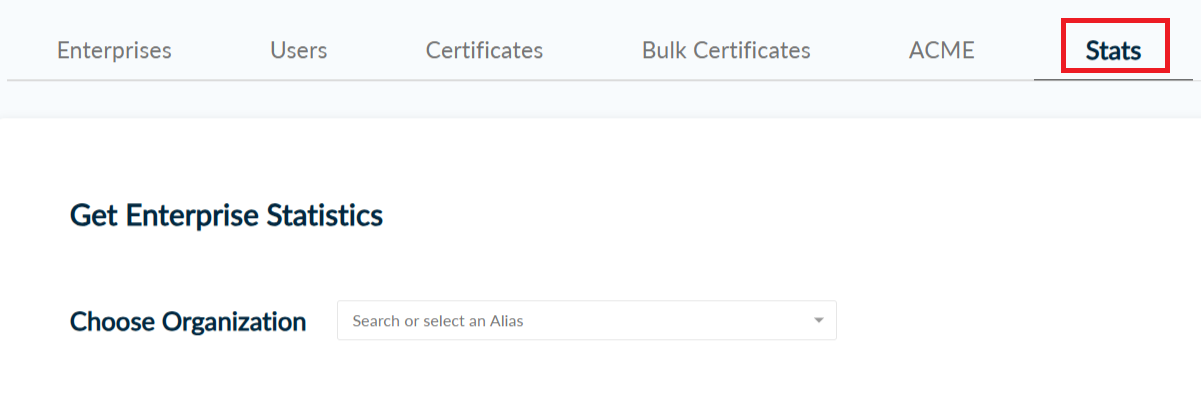
1.Select the organization for which you want to retrieve statistical information about the current state of certificates and the domains.
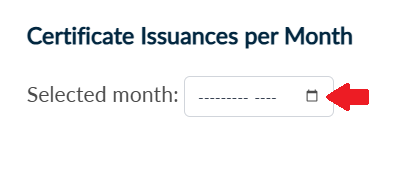
2.Once you select an organization, you will be presented with an overview of its certificate-related statistics and activity. You can also retrieve more detailed information about certificate issuances, including a month-by-month breakdown.
IA) Organization Tags and Automated S/MIME issuance
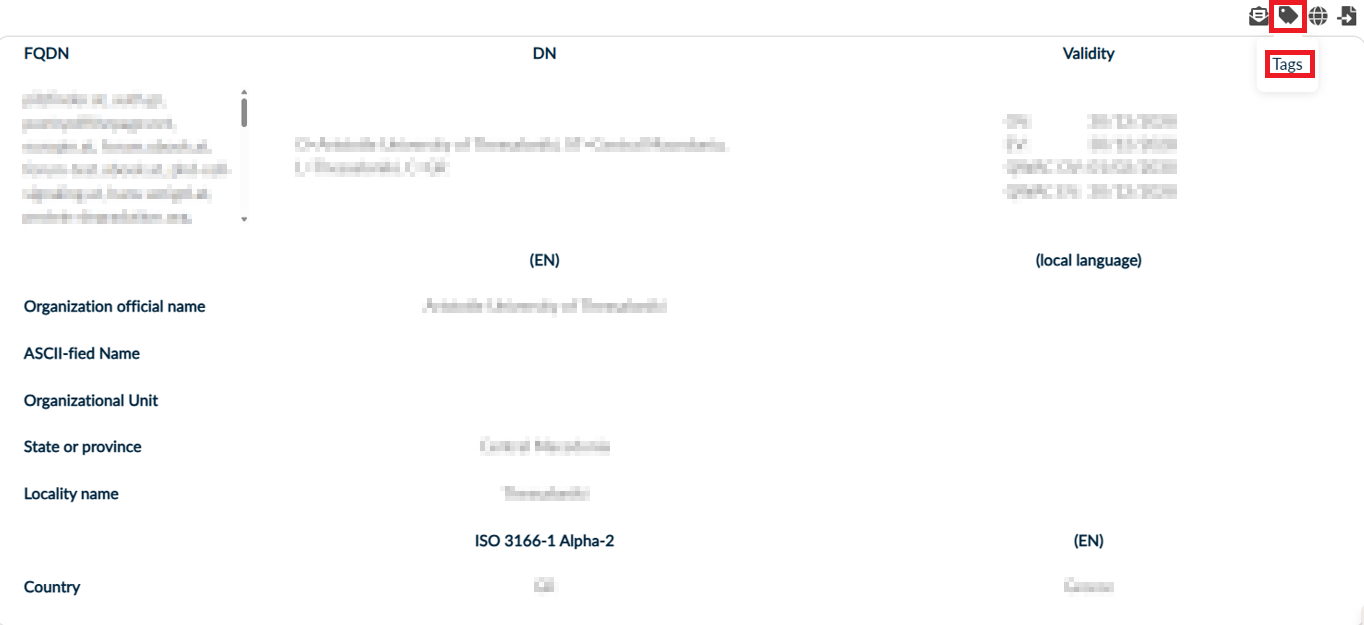
IGTF-Organization: When available, enables issuance of IGTF OV TLS Server certificates, as well as the GÉANT Organization Automated Authentication (Robot Email) client authentication certificates.
ACME-Personal: Allows all registered users under the Organization to create personal ACME endpoints for issuing Domain Validated (DV) TLS Server certificates. A dns-01 or http-01 challenge is always required, and any prior DCV performed by the Organization cannot be reused.
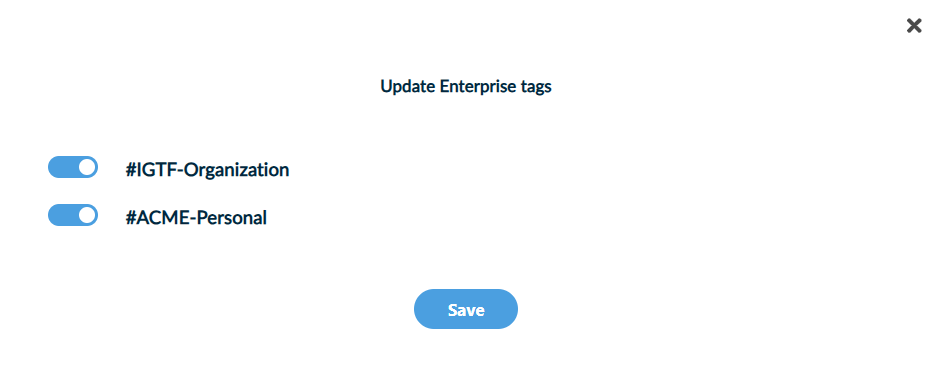
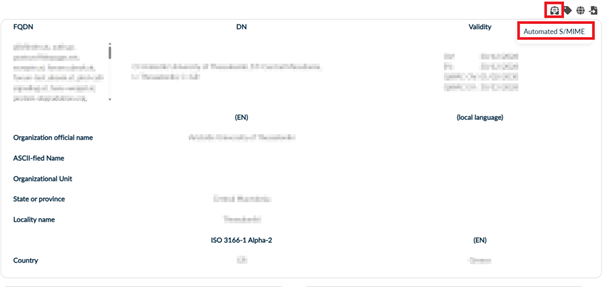
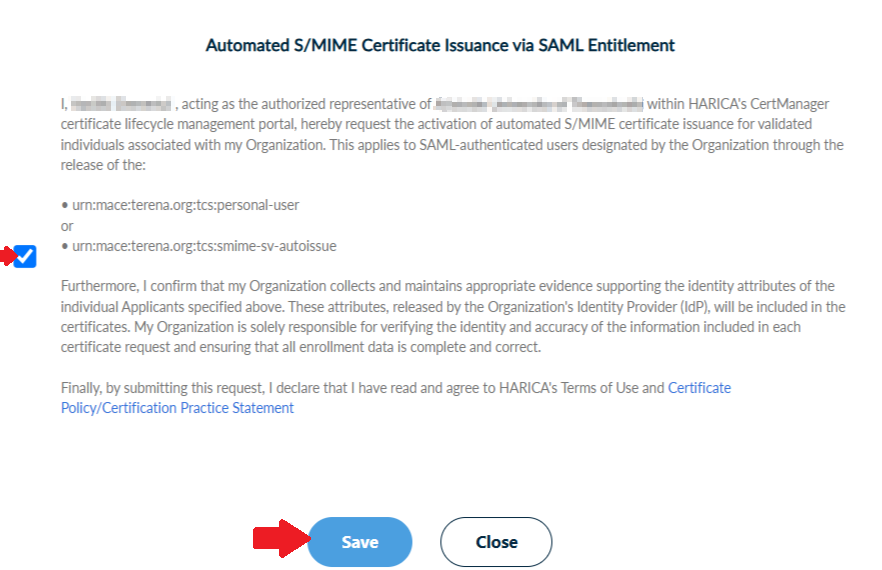
To enable this option, click the Automated S/MIME button.